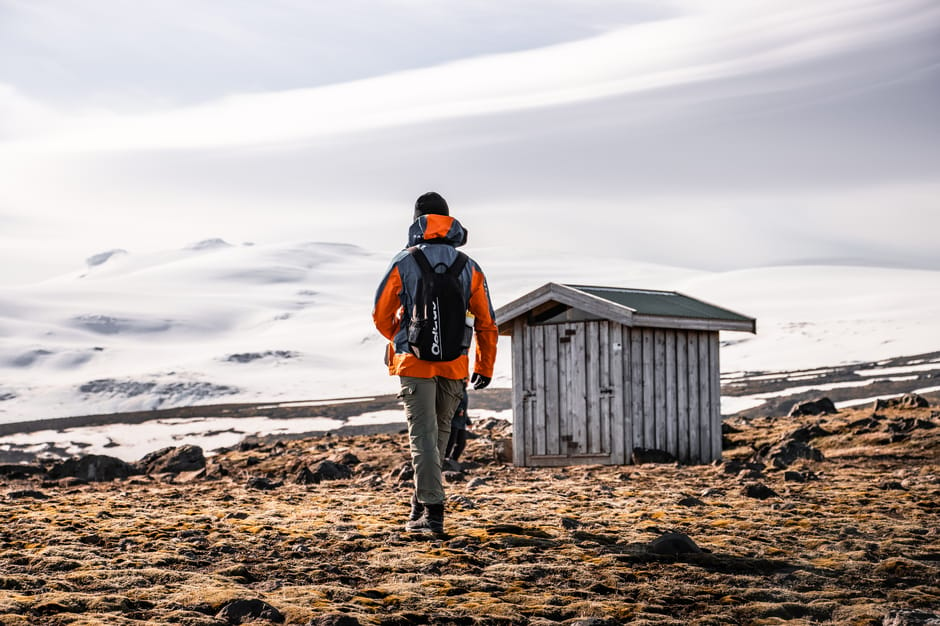






Introduction — Why picking the right emergency shelter matters for hiking in Iceland
Iceland is a land of extreme contrasts: black lava fields, massive glaciers, barren plateaus, fierce winds and weather that can change in an instant. Those conditions make it a dream destination for hikers, but they also mean that choosing the wrong emergency shelter can turn a minor mishap into a serious situation fast. Picking the right shelter isn’t just about « finding somewhere to hide » — it’s about assessing terrain, climate, how long you’ll need protection, how easy it is for rescuers to reach you, and thermal protection. This practical guide gives you a step-by-step checklist, addresses, price ranges and opening hours so you can prepare properly before you head out and act decisively in the field.
In the sections that follow you’ll get straightforward, immediately usable instructions: how to spot a safe natural shelter (lava cavities, sheltered cliffs, hot springs), when to build an improvised shelter (snow cave, wind trench, tarp shelter), what materials to carry, and how to prioritize based on weather and topography. We’ll also include practical information on where to buy or rent gear in Iceland (shops in Reykjavík), useful contacts (weather and rescue services), indicative prices in euros for essential equipment and opening hours so you can plan purchases before you hit the trail.
Every recommendation is grounded in Icelandic reality: sudden katabatic winds, freezing rain, mid-summer snow on the highlands, and areas without mobile coverage. You’ll find printable checklists and numbered steps to select and set up a shelter in under 30 minutes in tough conditions. This guide isn’t a substitute for certified survival training, but it’s written for hikers with moderate experience who want to dramatically improve their comfort and safety.
Before you start reading: download and print topographic maps (Vegvísir, map.is) and save offline the GPS coordinates of huts and rescue posts mentioned here. A simple map, a compass and a charged phone (with a power bank) can make the difference. Keep in mind that addresses, prices and opening hours change: check official websites the day before you go.
1) Before you go: where to buy, rent and check your kit in Reykjavík
The smartest shelter decisions start in town — buying or renting targeted gear and knowing where to get help locally. Here’s a practical shopping checklist and Reykjavík locations with addresses, approximate prices in euros and opening hours so you can head out properly equipped.
- Main technical gear shop: Cintamani / 66°North (example Icelandic brands). Recommended address: Laugavegur 20-28, 101 Reykjavík. Opening hours: Mon–Sat 10:00–18:00, Sun 12:00–17:00. Indicative prices: tarp/shelter cover €50–120; three-season sleeping bag €120–350; insulating pad €40–120.
- Specialist rental shop: Rent a Trek / Outdoor Rental Reykjavík, Lækjargata 2, 101 Reykjavík. Opening hours: Mon–Fri 09:00–18:00, Sat 10:00–15:00. Prices: tarp rental €12–18/day, -10°C sleeping bag €20–35/day, snow shovel €6–10/day.
- Supermarket for fuel: Bónus, Skólavörðustígur 10, 101 Reykjavík. Opening hours: Mon–Sat 09:00–20:00. Prices: butane/propane canister 450 g ≈ €5–7; firestarter ≈ €3–6.
- Useful services: Icelandic Met Office (Veðurstofa Íslands) — Bústaðavegur 9-11, 108 Reykjavík. Information desk: office open Mon–Fri 09:00–16:00. Website: vedur.is. Check forecasts and alerts before you leave.
Practical tip: visit a physical shop and try the tarp or tent to check volume and packed size. Bring your pack to make sure it fits. Ask for quick setup demos to save time in the field. If you plan to cross high plateaus (e.g. Kjölur, Fimmvörðuháls), rent a polar sleeping bag (-10°C or lower) and a snow shovel.
2) Identify the right shelter for the terrain and climate (terrain-climate checklist)
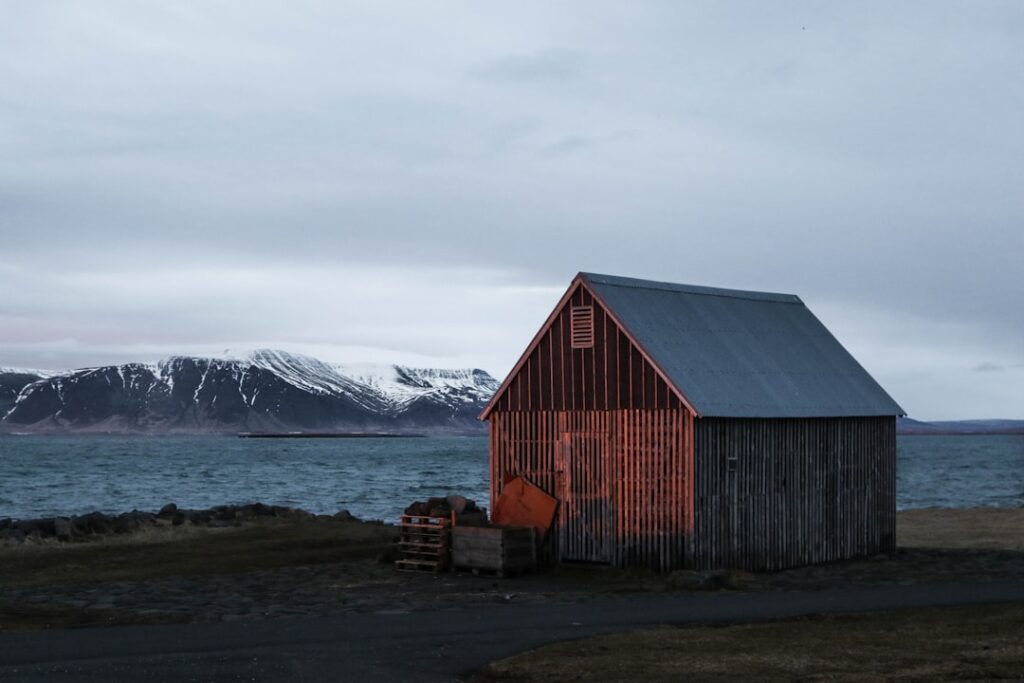
On Icelandic ground, the « best shelter » depends mainly on two things: the type of threat (wind, cold, rain, snow) and the local topography (plain, lava field, glacier, valley). Here’s a step-by-step checklist to use in the field to evaluate the optimal shelter.
- Assess the main threat (0–2 minutes): violent wind (noise, debris in motion), heavy rain and wetness, snowstorm, rapid nighttime cooling. Prioritize protection from wind if speeds exceed 40 km/h.
- Scan the immediate relief (2–5 minutes): look for natural anchors — lava fissures, rock ledges on the leeward side, recesses in sand dunes, sidewalls of a gorge. Avoid potential water overflow zones (dry riverbeds) during heavy rain.
- Pick the shelter type:
- Natural wind shelter: a hollowed rock face on the leeward side; shields you from the gusts. Great for high winds but offers little insulation — pair with a sleeping bag. Setup time: 0–5 min.
- Tarpaulin shelter (tarp): versatile, lightweight and quick to pitch between rocks or poles. Excellent for rain and wind. Setup time: 5–15 min.
- Snow cave: very thermally protective in compact snow; requires a shovel and experience. Setup time: 30–90 min depending on snow depth.
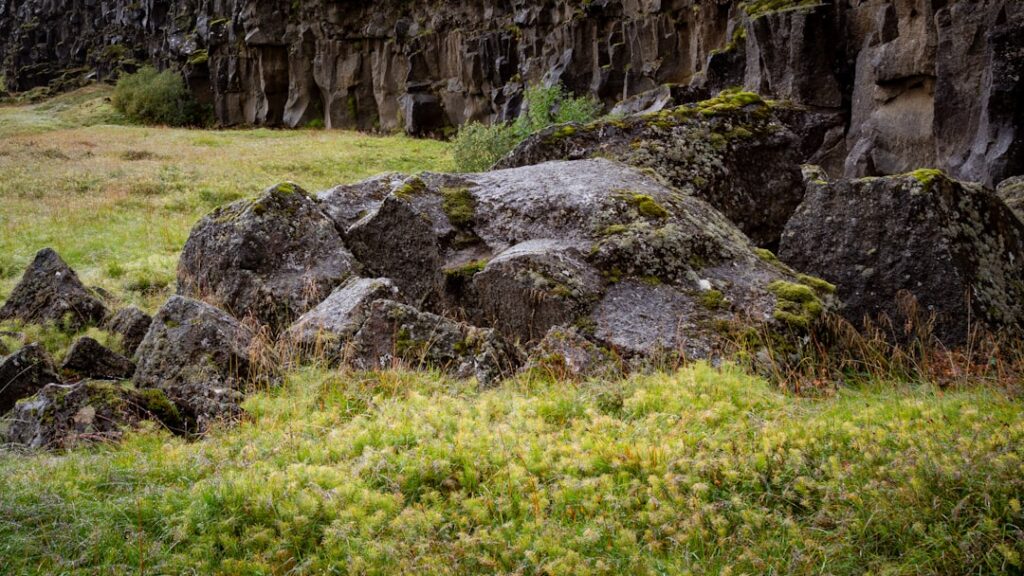
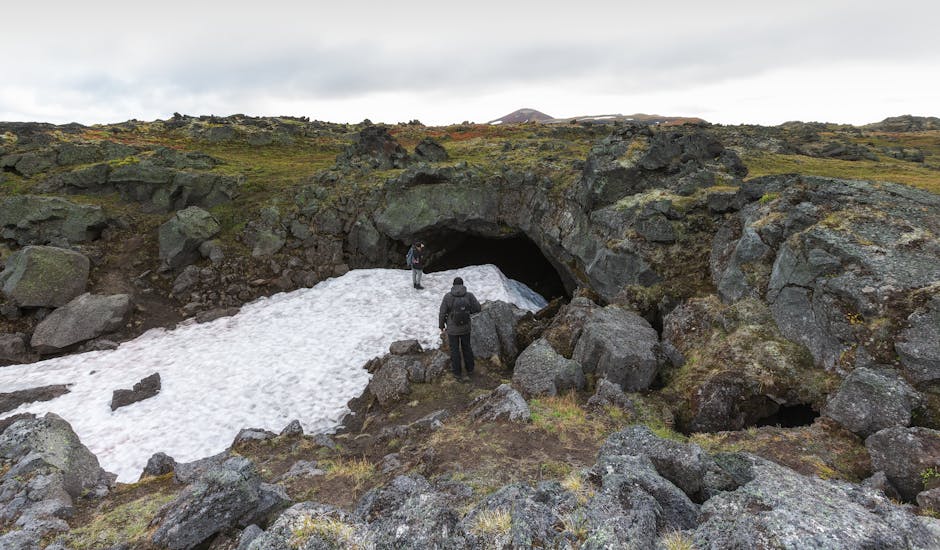
- Natural shelter in lava fields (lava tube/overhang): blocks wind and benefits from thermal mass. Always check roof stability.
- Mountain hut / refuge (Ásbyrgi huts, Skógarhut, etc.): if nearby, choose these for maximum safety.
- Check rescue access: if you pick a shelter inside a canyon or tube, note a visible reference point and send your GPS location by SMS to a contact. If there’s no mobile signal, write down UTM coordinates on your map.
Quick printable checklist (keep on you):
- Threat type: ________
- Available relief: ________
- Chosen shelter type: ________
- Estimated setup time: ________
- Required gear: tarp / rope / pegs / shovel / sleeping bag
- Coordinates noted: ________
3) Build and pitch an improvised shelter: numbered steps, techniques and materials
In the field, efficiency comes from method. Here are step-by-step guides for three shelter types commonly used in Iceland: tarp shelter, snow cave and wind trench. Each technique includes the minimum gear, average setup time and safety tips. These procedures are field-testable and tailored to Icelandic conditions.
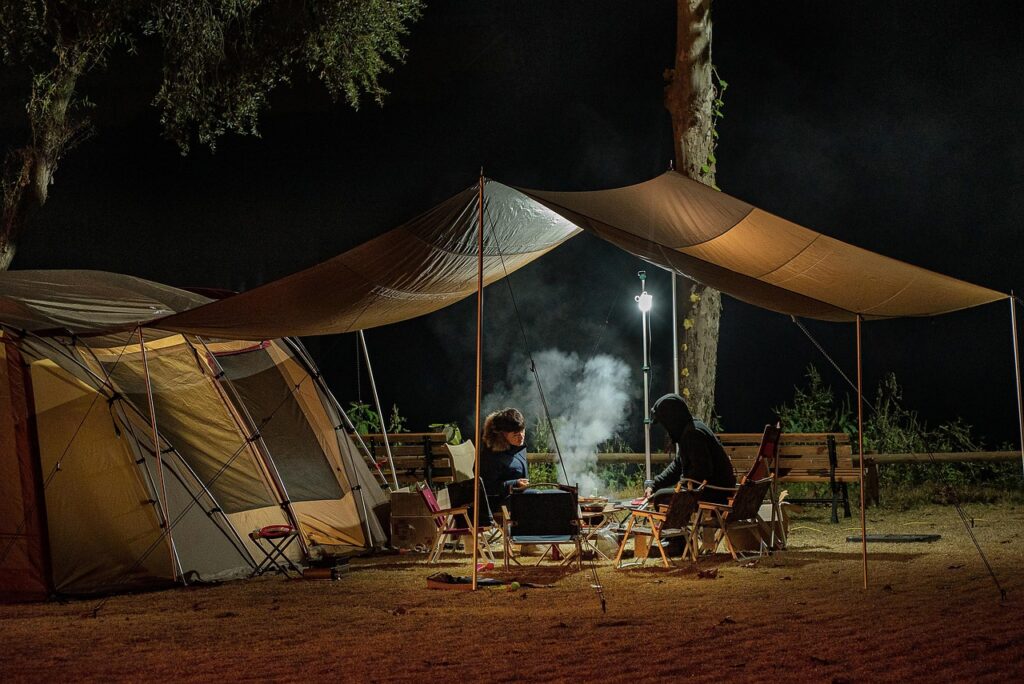
Tarp shelter — Fast setup (5–15 minutes)
- Gear: 3×3 m tarp (€50–120), 4–6 mm cord (€3–8), 4 pegs / heavy stones, webbing or carabiner.
- Choose the site: leeward side, slight slope for water runoff, not at the bottom of a water channel.
- Lean-to setup: anchor a cord between two points about 1.5 m high (tree, rock). Attach the cord to the centre of the tarp and stake the lower edges to the ground with pegs/stones. Angle the tarp to channel rain away.
- Ground insulation: put down an insulating pad (€40–120) and a sleeping bag. Seal openings on the windward side with stones or compacted snow.
- Time: 5–15 min; safety: check anchor strength against strong gusts.
Local tip: in black-sand areas use heavy stones to anchor the tarp — pegs pull out easily.
Snow cave — Maximum thermal protection (30–90 minutes)
- Gear: snow shovel (€6–10/day rental), compact shovel, tarp for extra insulation.
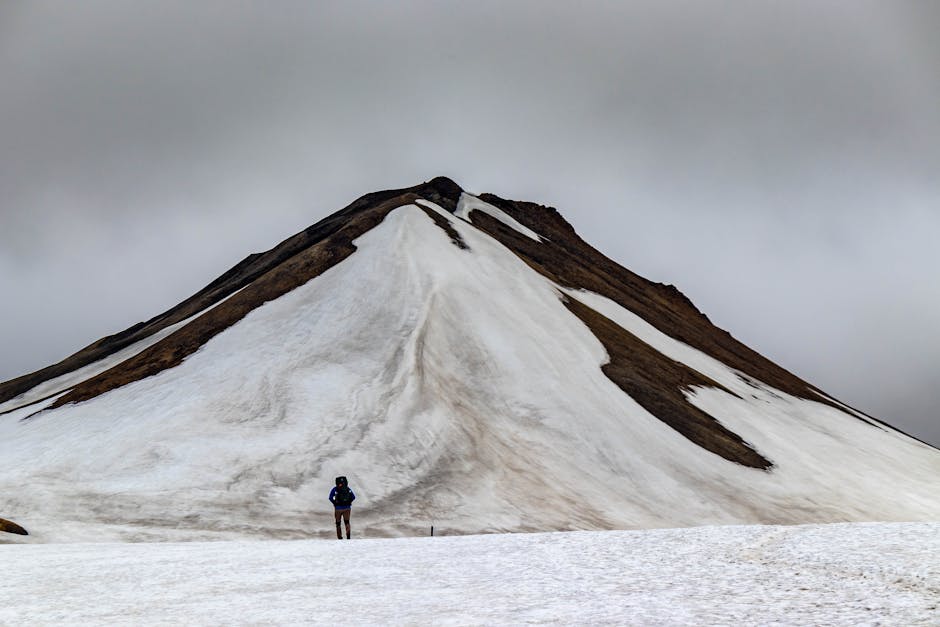
- Site selection: compact snow, but not in an avalanche-prone area or under a cornice. Avoid frozen rivers underneath.
- Technique: dig an entrance that slopes down into a sleeping chamber. Leave at least 70 cm of snow thickness above the roof; chamber size for two people ≈ 1.2 m x 2 m x 1 m high. Create a small ventilation hole (2–3 cm) and mark the entrance with a flag or bright tarp.
- Safety: watch ventilation and collapse risk; don’t sleep directly on snow — use an insulating pad and an appropriate sleeping bag.
- Time: 30–90 min depending on conditions; useful when temperatures are below 0 °C and winds are strong.
Wind trench / snow wall — Rapid shelter for a single night (15–30 minutes)
- Gear: shovel, tarp or emergency blanket (€2–8).
- Choose the site: leeward side of a dune or bank. Dig a shallow trench and build a compressed snow wall facing the wind.
- Reinforcement: cover the structure with the tarp and add stones or compacted snow around the edges.
- Time: 15–30 minutes. Not suitable for long storms unless you have extra thermal reinforcement.
4) Official huts and Icelandic services: contacts, hours and how to reach them
When an official hut is within reach, it’s often the best option. Below is a selection of huts and support points commonly used by hikers in Iceland, with approximate addresses/coordinates, prices and opening times to check before you leave.
- Kerlingarfjöll Mountain Resort (hut / mountain centre) — Route 35, Kerlingarfjöll, 806 Blönduós (central approach via Kjölur). Seasonal hours: generally open June–Sept 08:00–20:00; off-season access by reservation. Dorm night price ≈ €40–80 per person. Site: kerlingarfjoll.is (book ahead).
- Skaftafell Visitor Centre (Vatnajökull National Park) — Skaftafell Visitor Centre, 785 Öræfi. Hours: May–Sept 09:00–18:00. Services: maps, info on valley huts. Access: car via Route 1, paid parking (≈ €3–8). Park entry is free but camping is regulated.
- Fjörður Rescue / Local ICE-SAR units — for assistance call the Icelandic emergency number 112. For non-urgent liaison: contact the local rescue station listed on F-road signs (highland routes).
Note on prices and hours: mountain huts often have strict opening seasons (June–Sept); off-season access may require a reservation, a guide or a suitable vehicle (4×4). Costs can vary widely depending on group size and services (meals, showers). Always check online or by phone before relying on a hut.
5) Emergency action plan: operational checklist and contacts
In an emergency, every minute counts. This section gives an operational checklist to run through immediately, including communications, medical priorities and ways to signal rescuers. Print and memorise these steps.
- Stabilise people: assess condition (consciousness, breathing, severe cold). Treat hypothermia with passive warming: remove wet clothes, insulate from the ground with pads, use an emergency blanket (€2–8) or sleeping bag. For serious injuries, immobilise and avoid unnecessary movement.
- Secure an immediate shelter: use the fastest method (tarp lean-to or wind trench). If the storm will last more than 12 hours and there’s snow, consider a snow cave only if you have the experience.
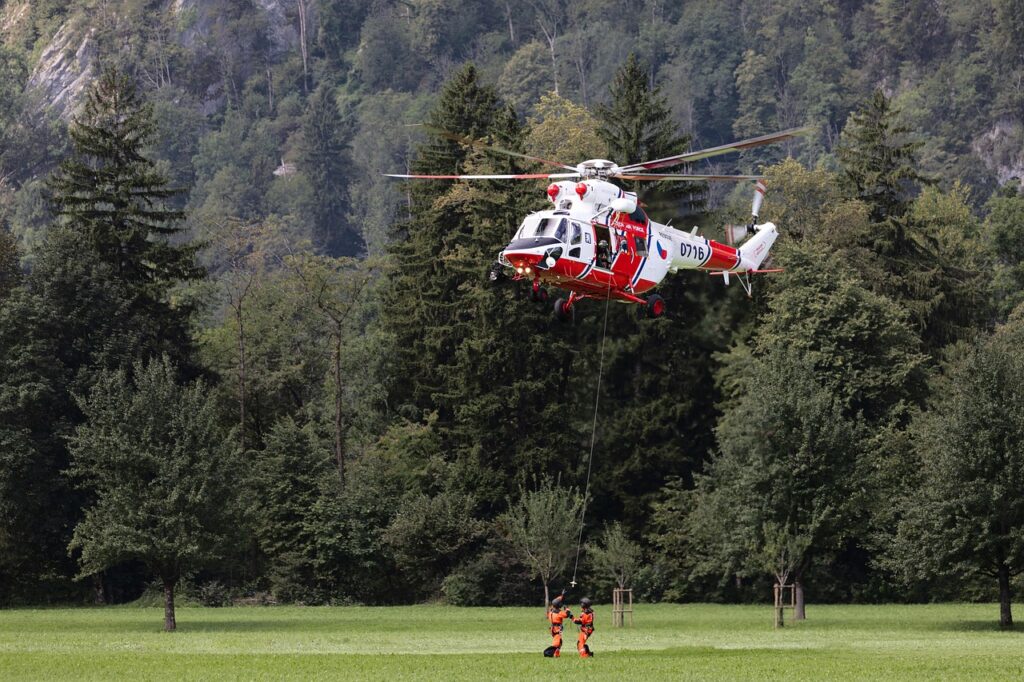
- Communicate: if there’s signal, call 112 — say « Iceland, emergency, we are at [coordinates], [number of people], [nature of emergency] ». Send SMS with your GPS location to contacts. If there’s no signal, use a PLB or satellite device (SPOT, Garmin inReach): turn it on and transmit your location. Satellite messenger rental in Reykjavík ≈ €10–25/day.
- Mark your position physically: hang a bright tarp, arrange stones in a V pointing toward the nearest road, create smoke (if safe) to guide aircraft.
- Stay put if injured or after calling for help: leaving increases the chance of getting lost. If you decide to move and are fit, mark every spot and leave visible signs.
Contacts and reference info:
- Emergency: 112 (Icelandic emergency number for police, ambulance, rescue)
- Icelandic Met Office (weather updates): vedur.is — phone +354 522 60 00, office address Bústaðavegur 9-11, 108 Reykjavík
- Search and Rescue info (ICE-SAR): see local stations — many tourist centres provide contact numbers. If you’re in Reykjavík, you can check the Reykjavík Rescue Station in the Skúlagata area (verify local coordinates).
Conclusion — Practical summary and final local tips
Choosing an emergency shelter for hiking in Iceland requires a quick, pragmatic read of wind, snow, terrain and access to rescue. The best preparation starts in town: buy or rent the right gear in Reykjavík (tarp, suitable sleeping bag, insulating pad, shovel), check rental hours and prices, and consult Veðurstofa Íslands (Icelandic Met Office) forecasts before leaving. In the field, follow the checklist: assess the threat, find a safe natural shelter, then build the best improvised shelter (tarp, snow cave, wind trench) depending on the time you have and your experience.
Don’t forget communications: a satellite device can be the difference between a long wait and a fast rescue. In Iceland, where F-roads and highlands can be dead zones for mobile coverage, investing in a PLB or a Garmin inReach (rentals available in Reykjavík) is a vital precaution. And when you can reach official huts, use them — they usually provide comfort and safety that improvised shelters can’t match.
Practical advice: print the checklists from this guide, refuse to compromise on basic kit (a poor sleeping bag or a badly anchored tarp can be costly), and learn snow-cave and tarp-pitching techniques in controlled conditions before you go. Practice pitching a shelter in 10–15 minutes — that simple drill will boost your confidence and speed in a real emergency.
Final local tip: talk to locals and hut wardens — they know microclimates and seasonal traps (katabatic winds around Skeiðarárjökull, sudden fogs in Þórsmörk valley). Check opening hours and prices for services (huts, rentals) the day before you depart — schedules change with the seasons. And above all, respect nature: avoid unnecessary digging or damage to habitats; temporary structures should leave minimal impact.